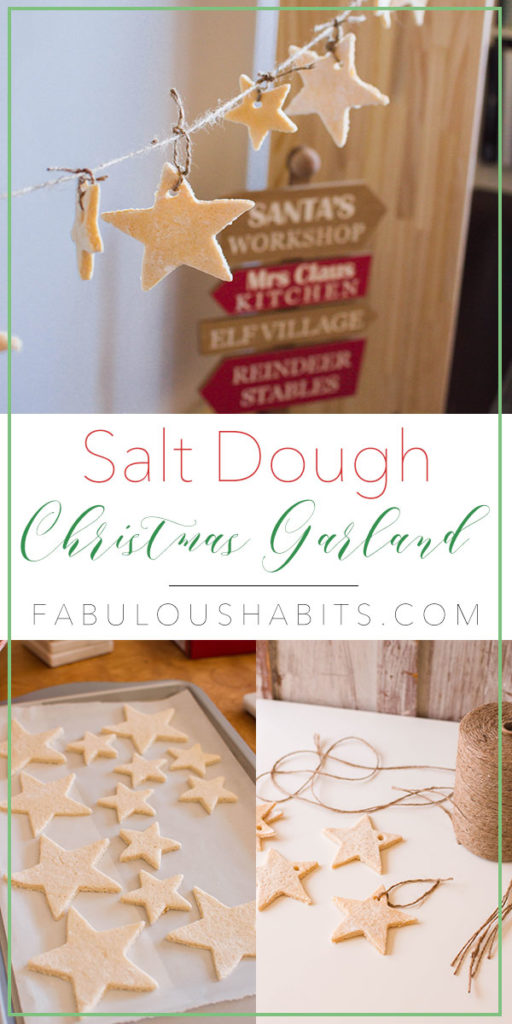
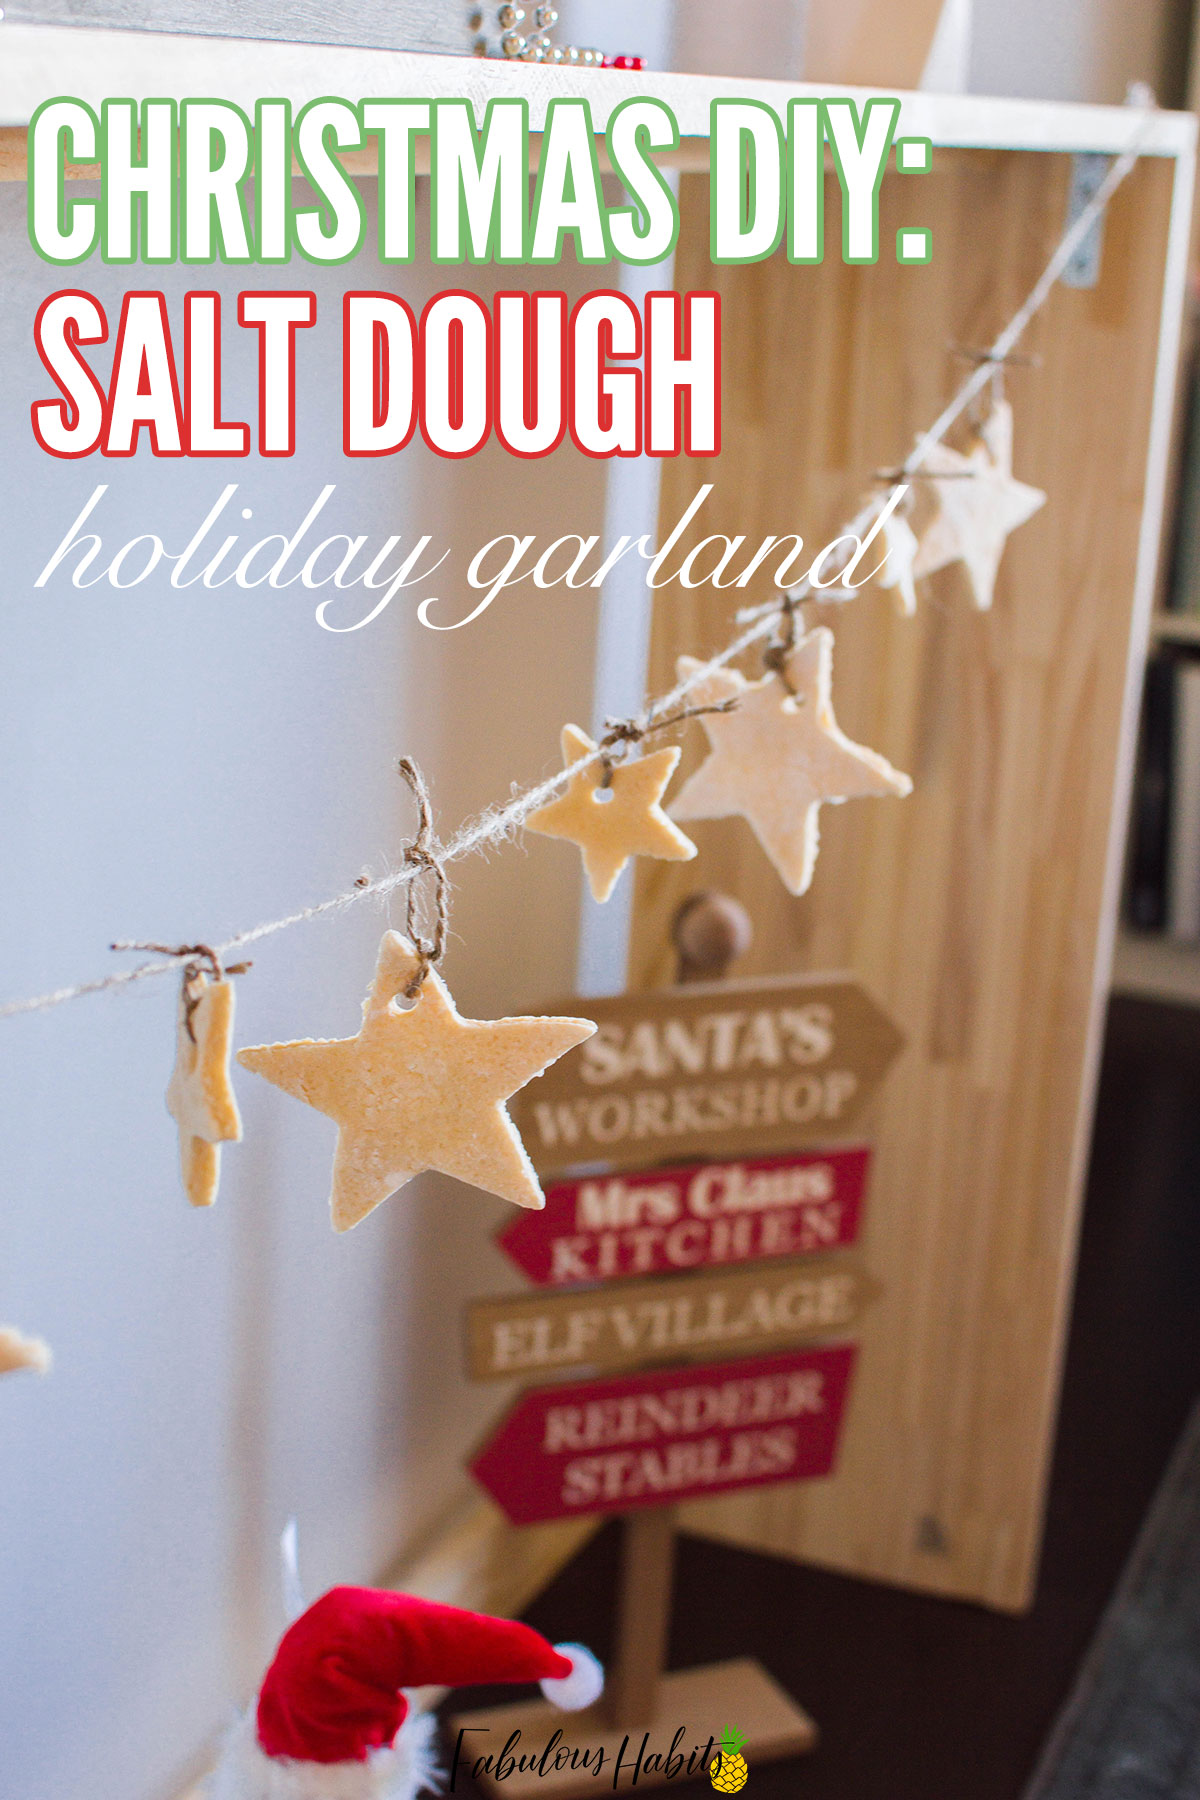
This holiday DIY takes a classic salt dough recipe and transforms it into a beautiful Christmas garland.
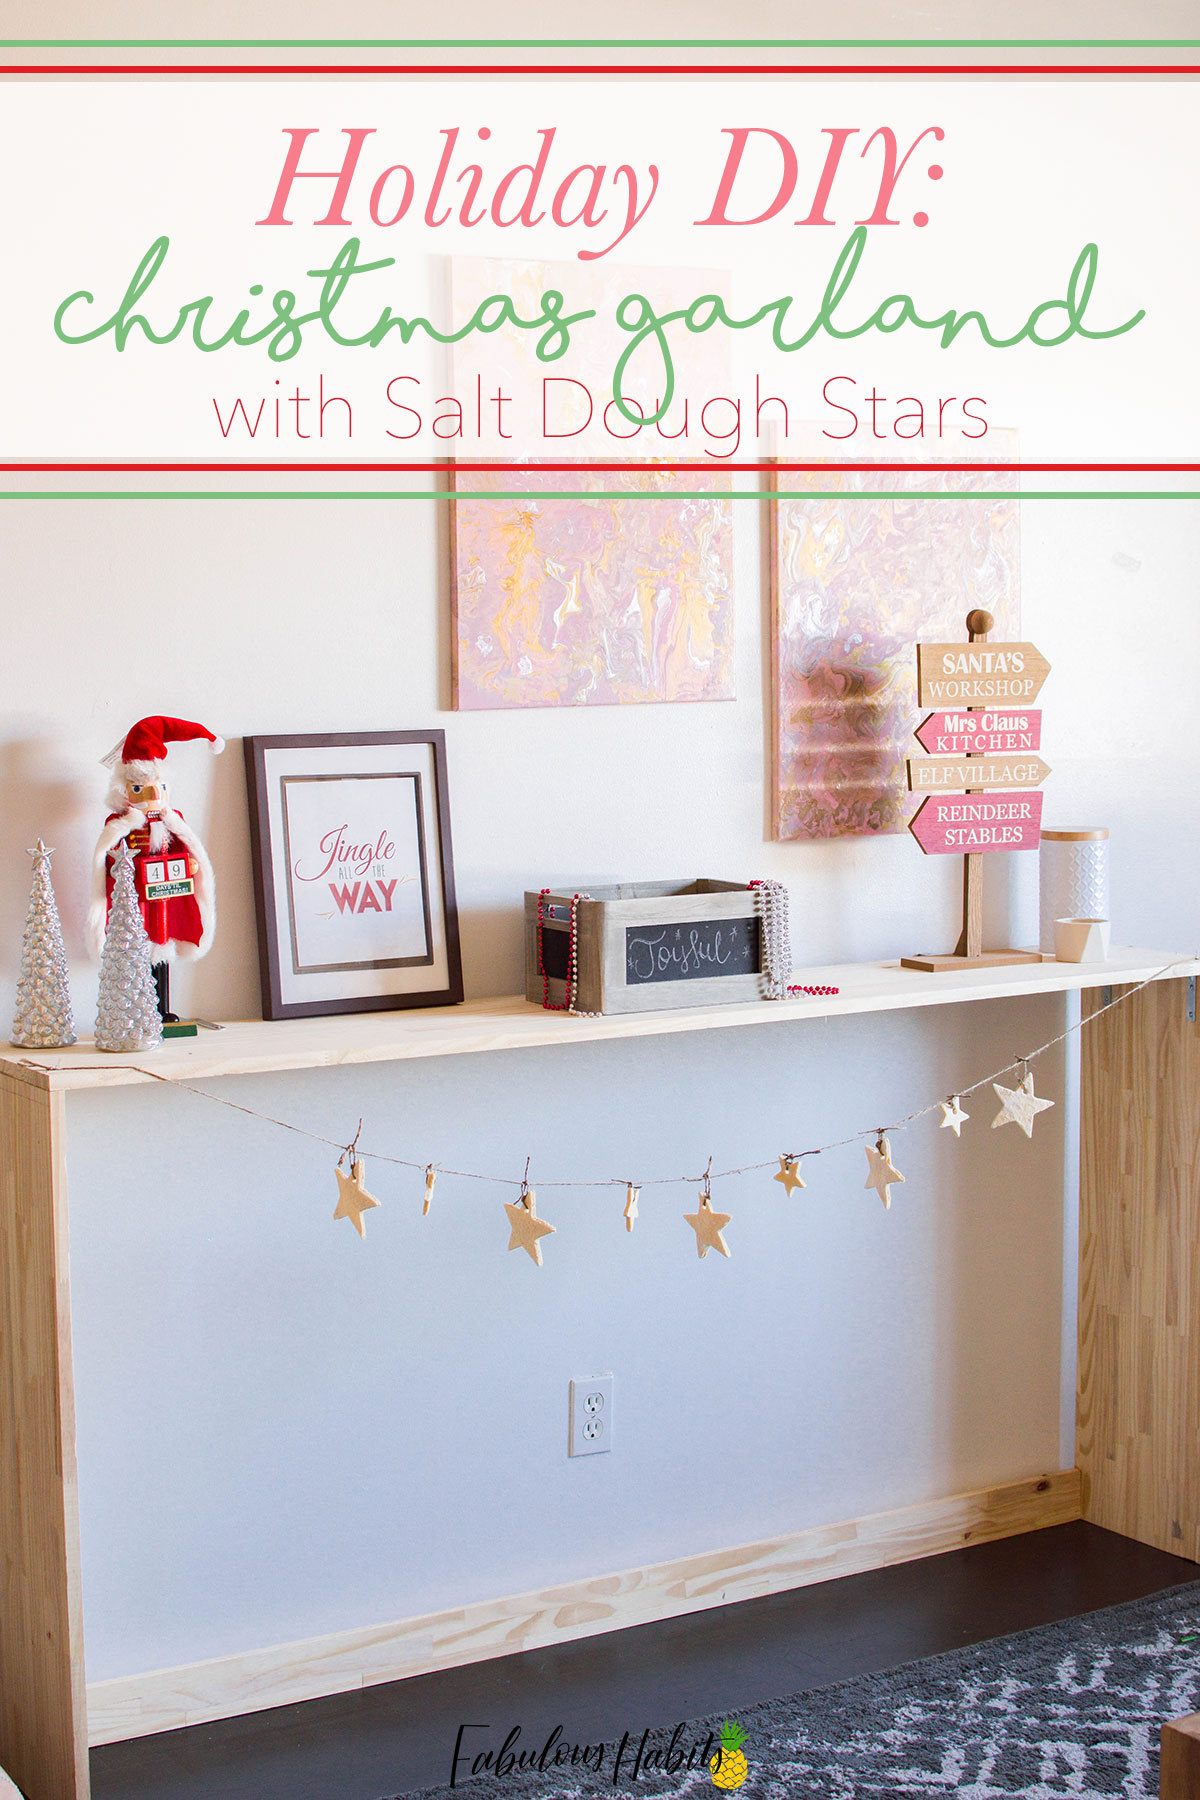
Roll up your sleeves – we’ve got some decorations to put up!
Happy holidays, everyone! You can only believe how ecstatic I was once November rolled around. I’m those types of people that get into full Christmas spirit once Halloween concludes for the year. All the decorative spiderwebs and skulls are neatly tucked away… then it’s all about the holidays in our household!
Usually, during the holidays, I’m all about baking. Especially during this time of the year, you’ll find me in the kitchen, whipping up another thematic recipe (normally Christmas cookies, duh!).
Today, I’ve got the best of both worlds for ya: baking and decorating. Awesome, right?!

Growing up, did you ever make salt dough ornaments? They’re a classic! Well, I wanted to whip up a batch for my family, so I came up with a fantastic idea: why not make a beautiful Christmas garland with a super-easy salt dough recipe?! Baking and décor all in one?! Yes, sign me up!
What is Salt Dough?
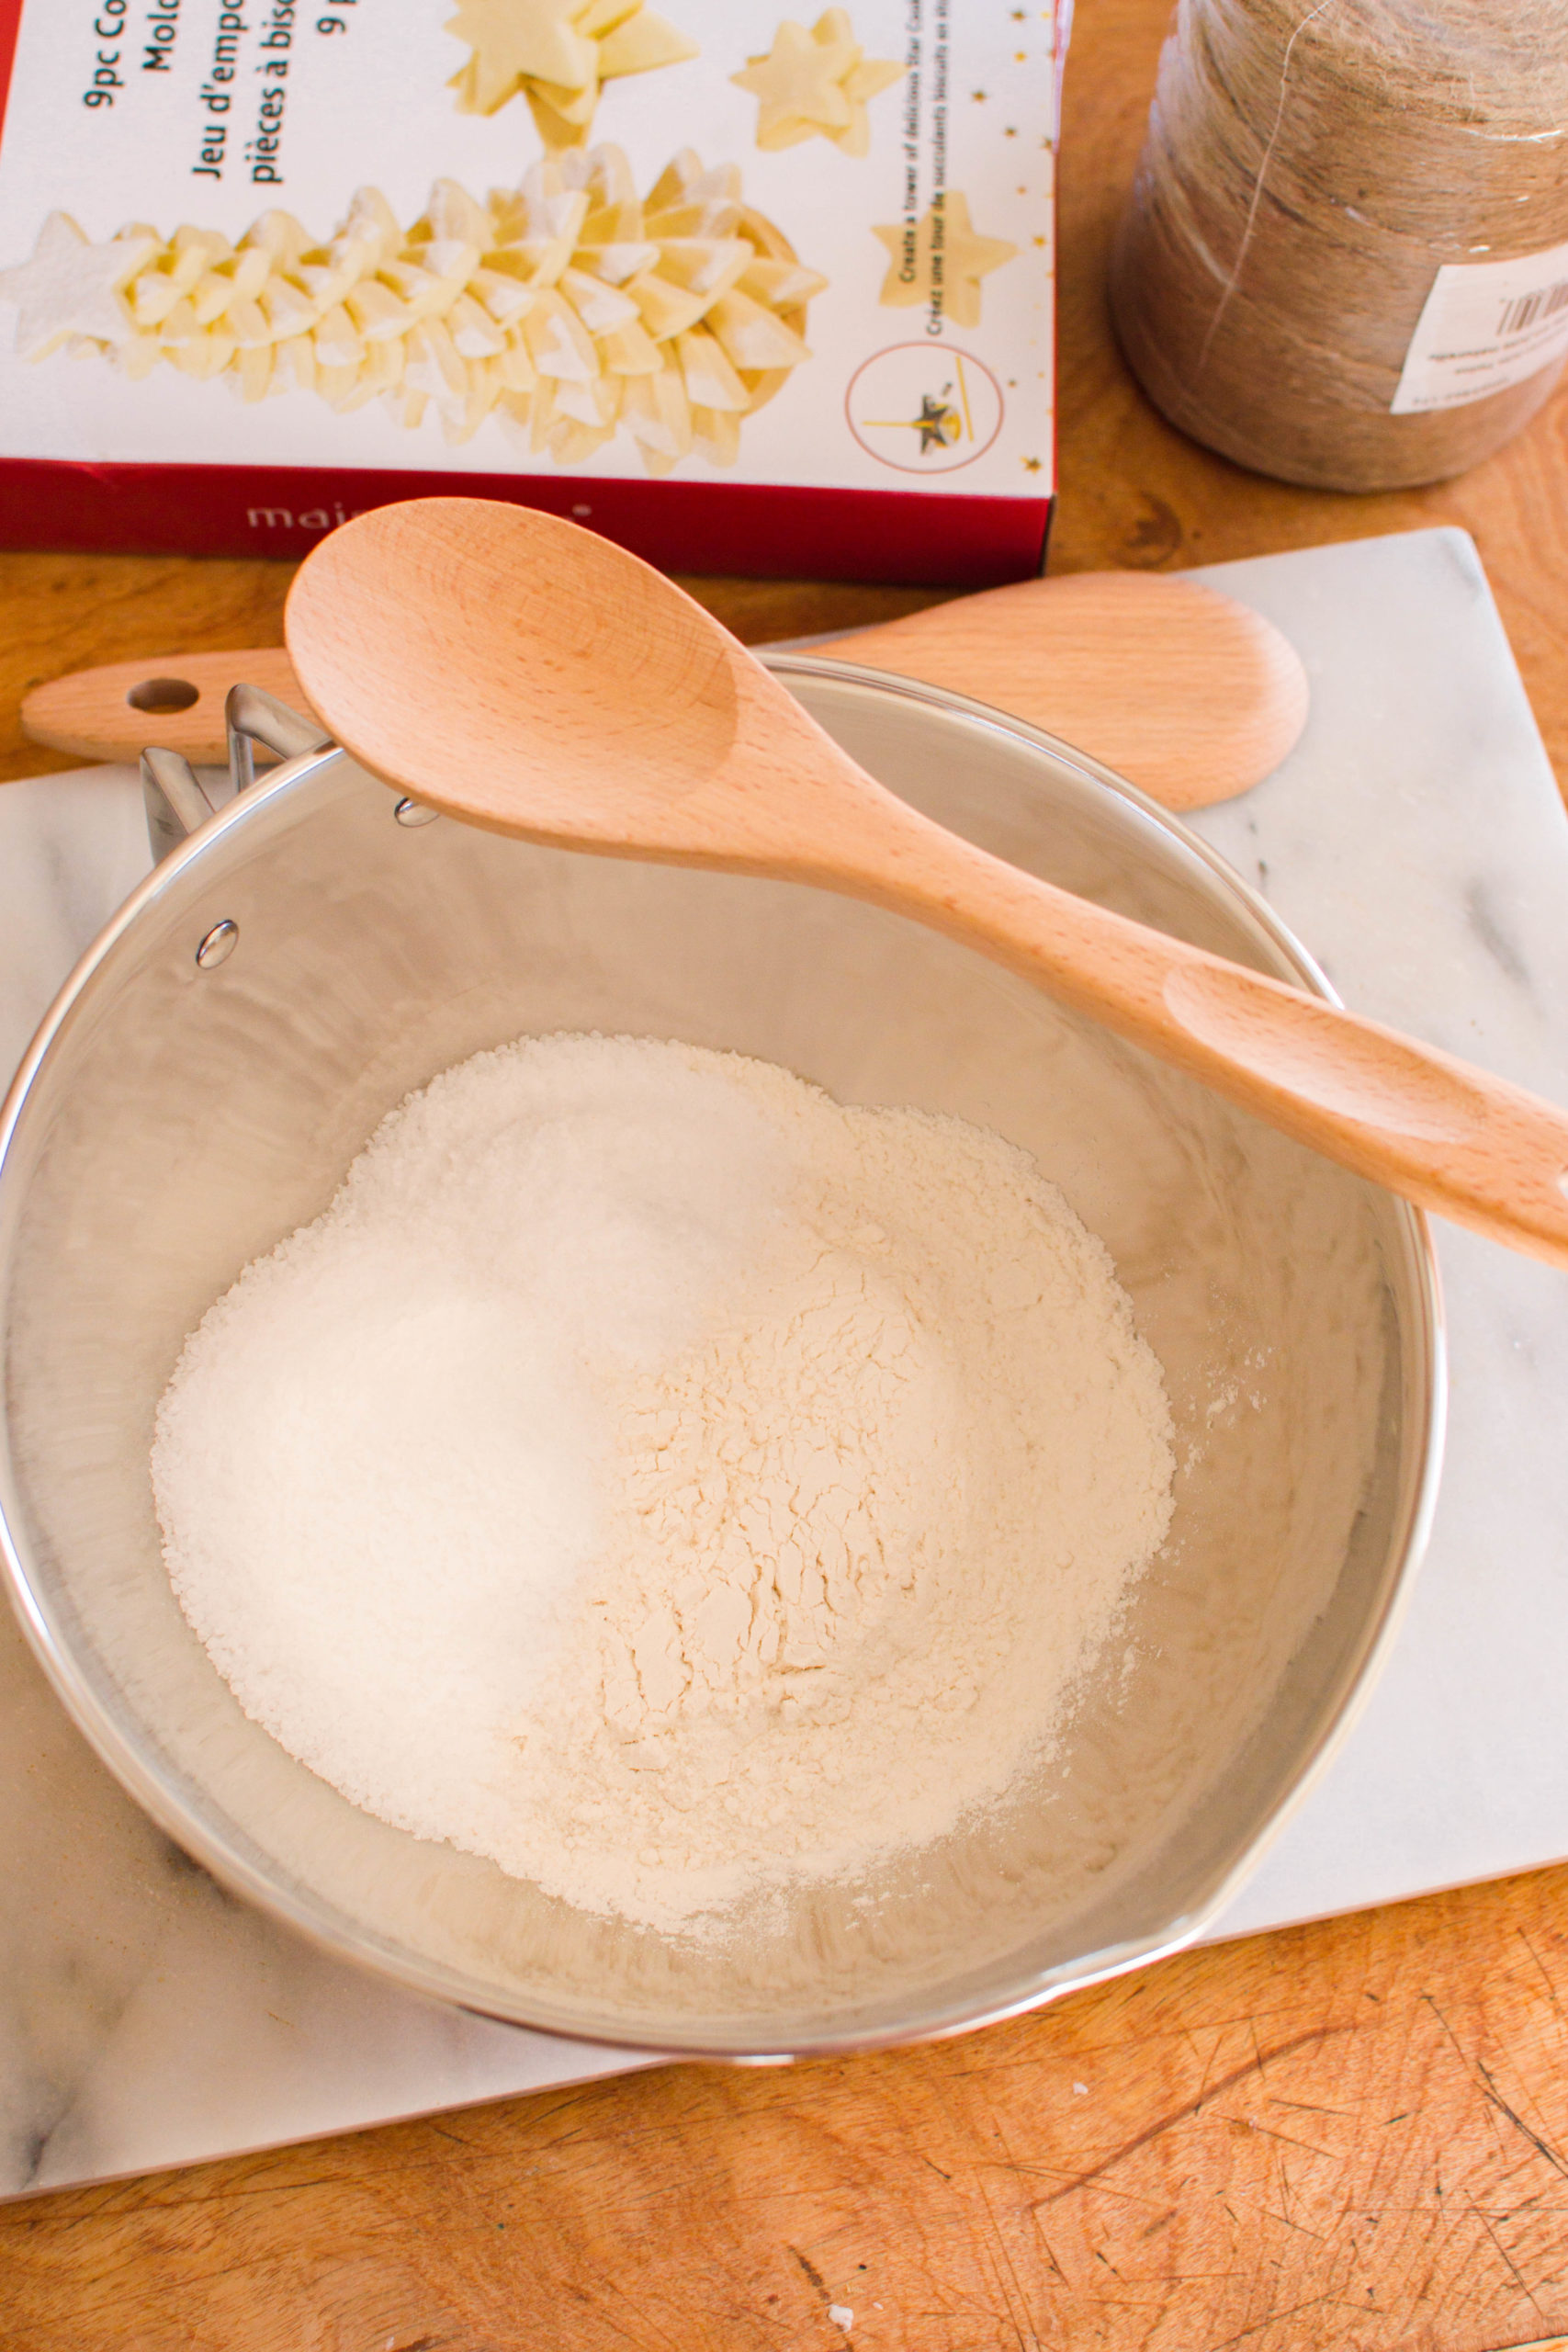
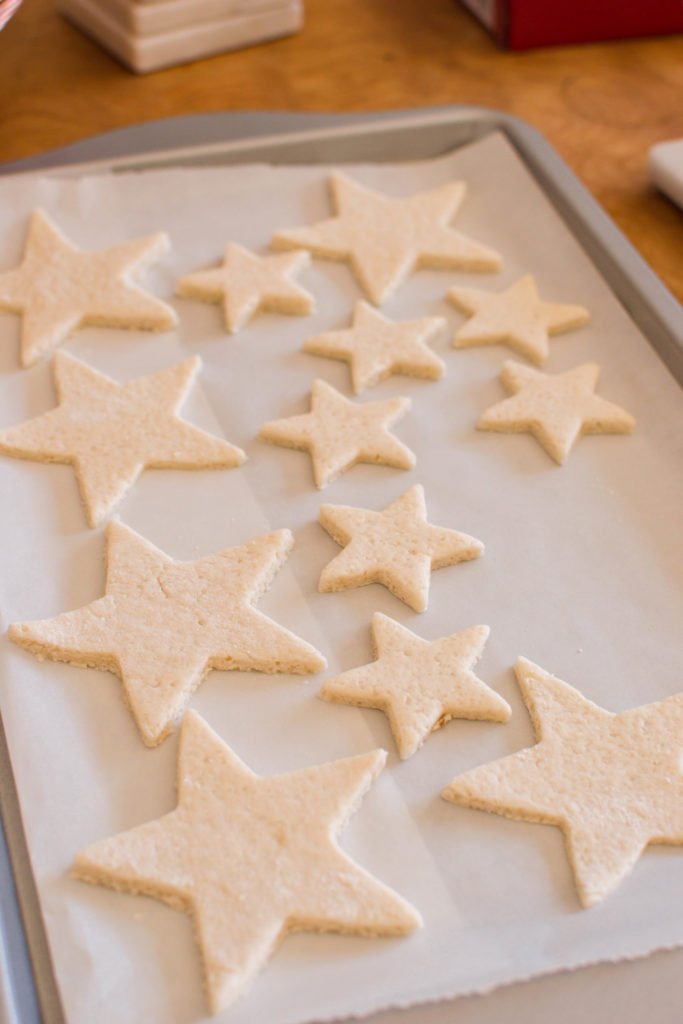
Salt dough is a dough that’s made up of three simple ingredients: salt, flour, and water. It can be rolled out and shaped, much like sugar cookie dough. When baked, salt becomes very hard, making it an ideal recipe for DIY ornaments.

Although it’s made with normal “food” ingredients, salt dough should not be consumed.
What Do I Need to Make Salt Dough?
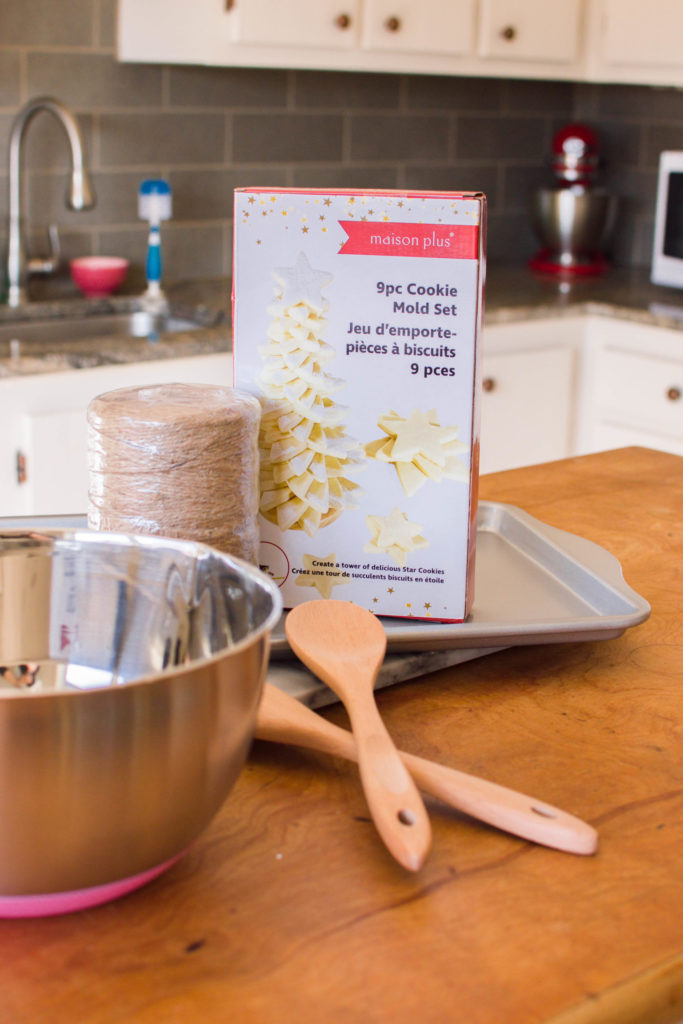
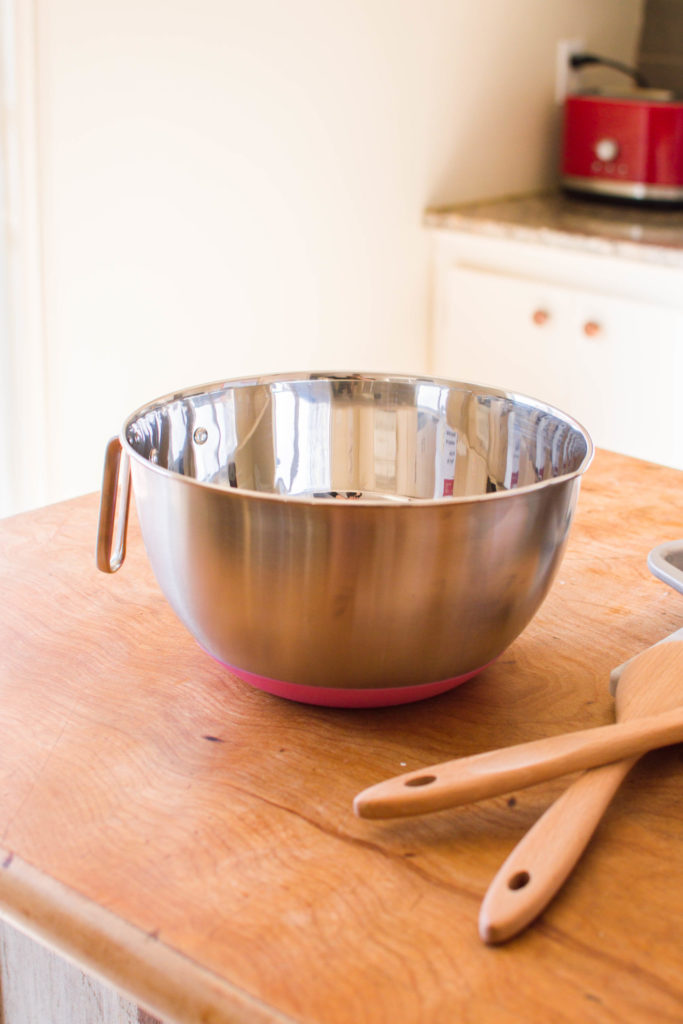
Besides the previously-listed ingredients, there are a few basic tools that you’ll need to make salt dough. I picked up all of my kitchen tools to complete this Christmas garland from Home Hardware.
Home Hardware is seriously the perfect one-stop-shop for all of your home projects – and that includes those in the kitchen!

Did you know they have an impressive bakeware section? This is where I get super entranced… and my husband knows to just give me my time and to leave me alone when I’m shopping in this area. Haha!
These are some of the kitchen tools that I used to complete my Salt Dough Christmas Garland – all from Home Hardware!:

Can Salt Dough be Air-Dried?
Yes, salt dough can absolutely be air-dried – it would just take much longer than baking them! Still, it’s a great option for “classroom activities.” Depending on the room’s humidity, salt dough can take 3-4 days to dry.

Can Salt Dough be Colored?
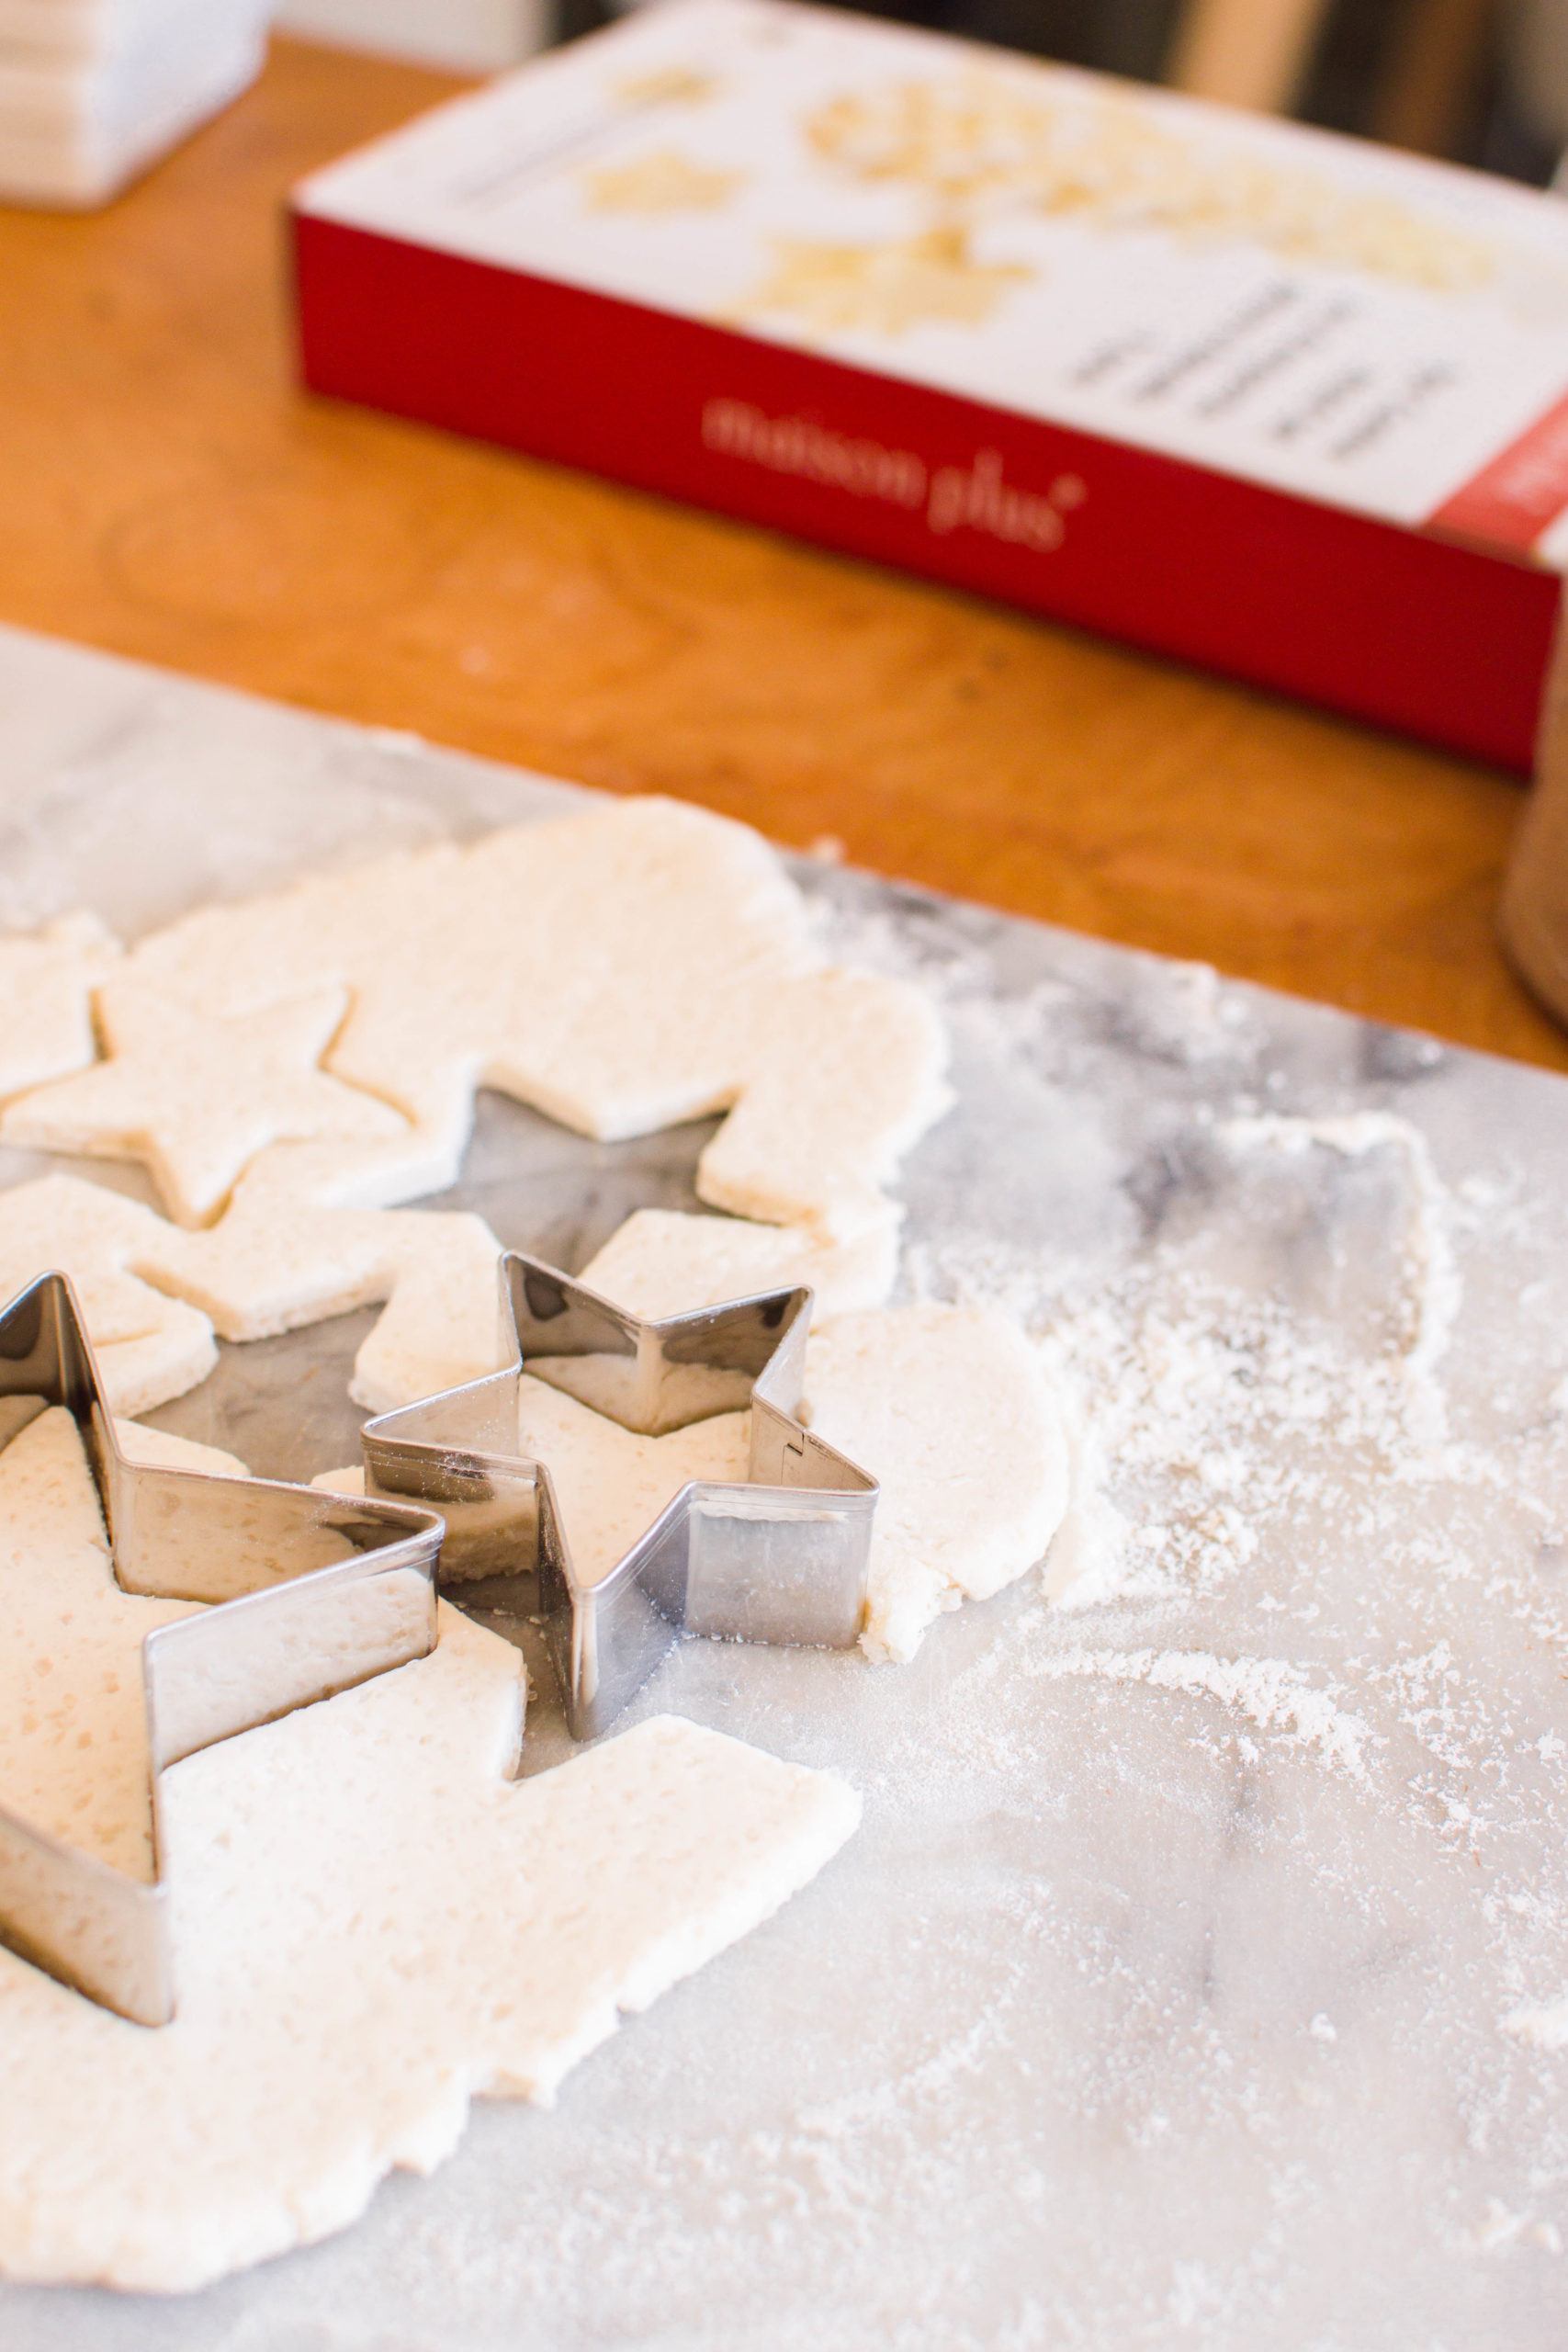
The best part about salt dough is that you can customize it with colors, shapes, sizes, etc. The best way to color salt dough is to paint it with craft paint (watercolors or acrylics) once it is shaped and completely dried.

You can also color the dough with gel food coloring, but this means you would have to make multiple batches to get different colors. Painting it once it’s set makes it so much easier to customize!
How to Make a Christmas Garland Using Salt Dough
Okay, what you’ve all been waiting for: the simple step-by-step directions to create your very own Salt Dough Christmas Garland!


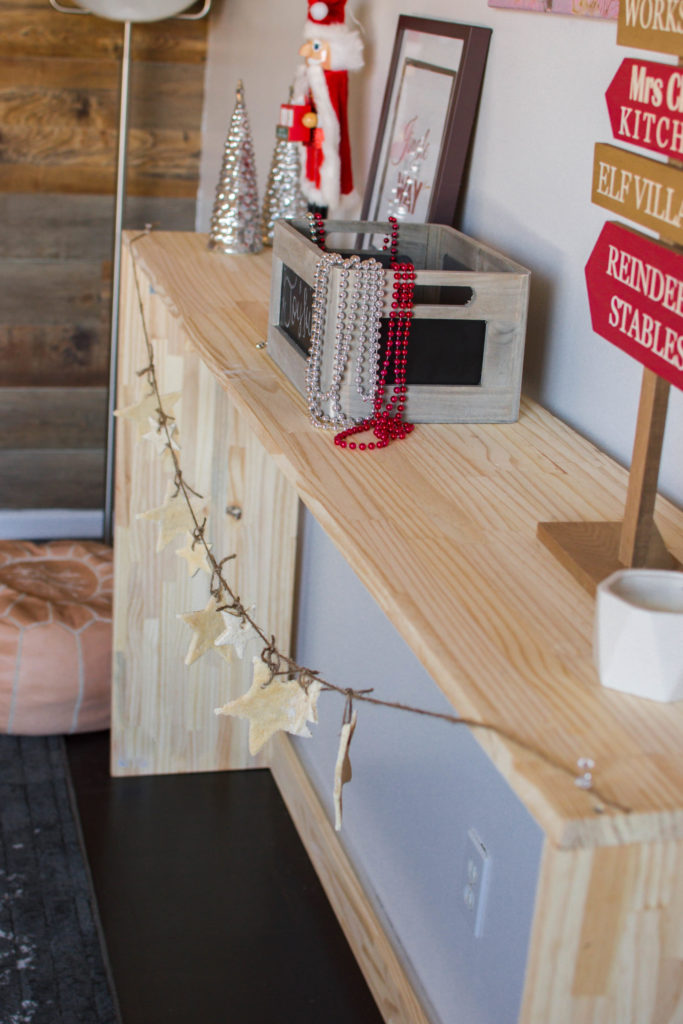


My littles love salt dough ornaments! This recipe looks really easy. We’ve got a new mantle to decorate this year and I think this’ll look farmhouse perfect!
That is a great diy activity for the holidays and when it is finished you have a beautiful decoration. I know this will be a big favorite and we are all staying in these days.
This is a wonderful idea. I really like it. This would be fun to make with the kids too. I know they’d enjoy helping me.
This is such a fun idea! We were just talking about spending some time this weekend making decor!
That turned out really cute. I love the star garland. That mixing bowl looks really nice. I like the no-slip bottom.
These DIY ornaments are perfect for the family to create at home. Great tradition for the kiddos as well.
I used to just buy my star decors,but upon reading this article,it made want to just make my own and switch to customized decors. Hehe
Christmas is coming and these DIY garlands of yours really add beauty to my Christmas decors. I am going to make this, thank you!
It’s a lot of fun to make this Christmas garland. I think it’s the perfect excuse to make it with the entire family! Love easy things to do!